If you’re getting into PlayStation 1 emulation, ePSXe and DuckStation are two of the greatest solutions. Both emulators provide a realistic experience, enabling you to relive your favourite PS1 classics with improved visuals, controls, and additional features. To get started, you’ll need the PS1 BIOS Download file.
The PS1 BIOS download file, specifically SCPH1001.bin, is crucial for running PS1 (often called PSX), which was Sony’s original gaming console. Its BIOS file is essential for running emulators like ePSXe and DuckStation. Emulators require this BIOS file to function correctly, making it necessary for playing PS1 games. In this article, you will learn about PSX BIOS and how to install it.
What is the PS1 Bios?
The PS1 BIOS is a special program inside the original PlayStation that helps the console start-up and play games. When you turn on the PlayStation, the BIOS checks to make sure everything is working, like the memory card and controllers, and then it helps load the game from the disc.
The BIOS is a crucial file that helps the emulator communicate with your device’s hardware, ensuring that PS1 games run smoothly. This is critical for running apps not designed for devices without a console, such as a Sega Megadrive game.
The PlayStation BIOS guarantees that these apps can adequately communicate with the hardware, resulting in seamless functioning and performance.
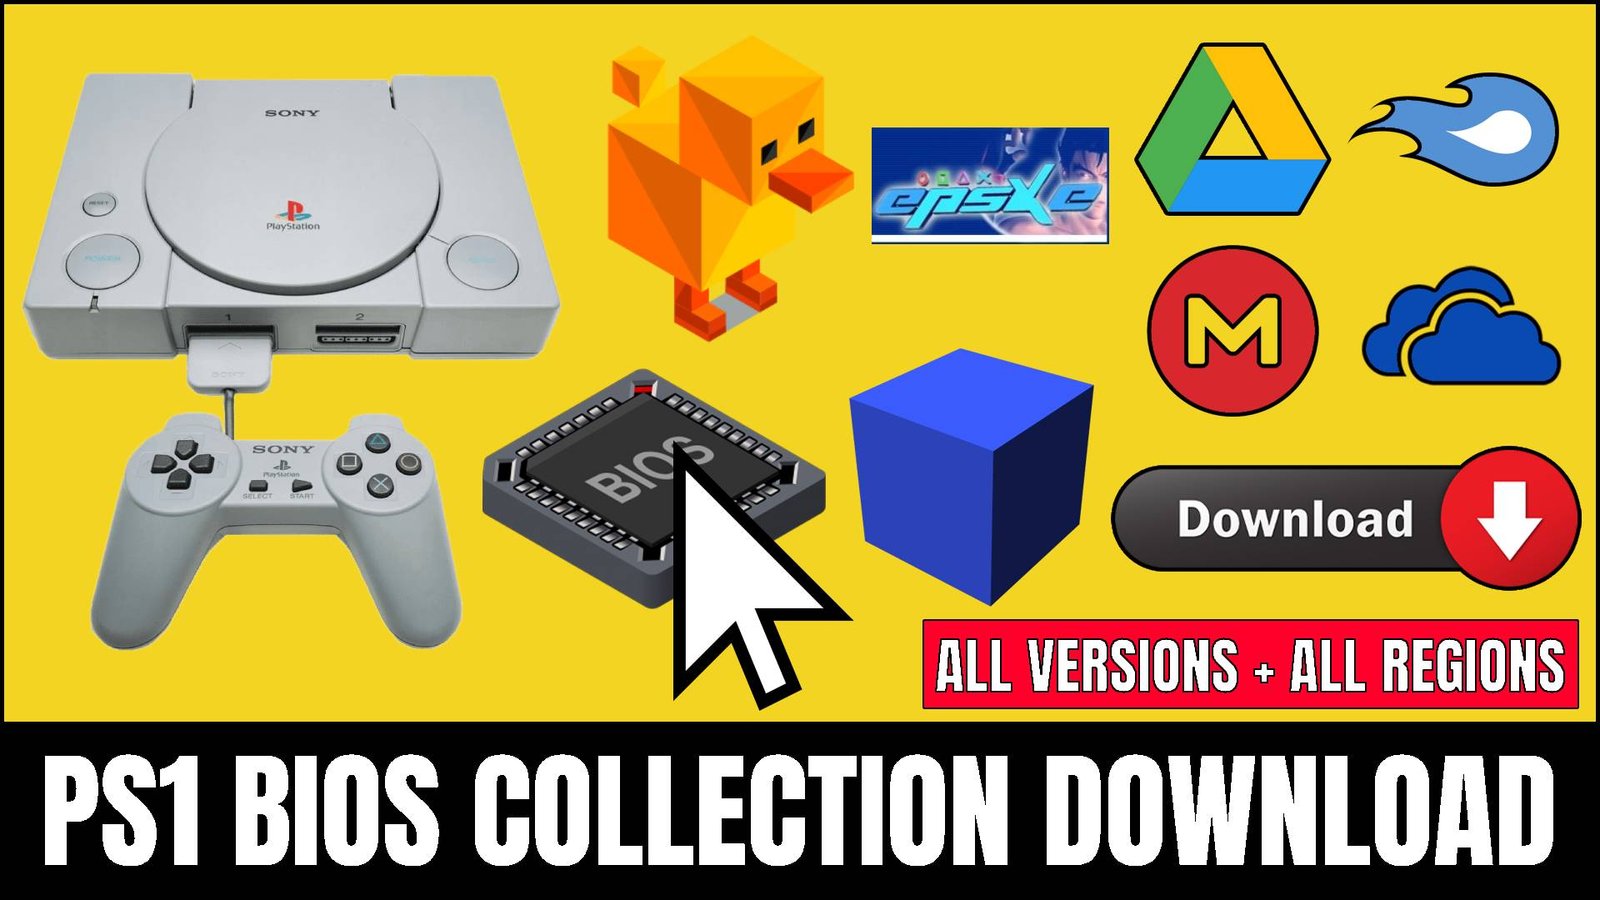
PS1 Bios Download (All Versions)
The download link above will contain all versions of the PS1 Bios.
How to Install PS1 BIOS?
Once you download the PS1 BIOS download, just follow the instructions below to install the BIOS on your emulator.
Download the BIOS File
- Download the PS1 BIOS Pack. For most games, use the SCPH1001.bin file (especially for US games).
Unzip the File
- Use a tool like WinRAR or 7-Zip to open the file if it’s in a zip folder.
Move the File
- Put the SCPH1001.bin file into the “BIOS” folder of your emulator (ePSXe or DuckStation).
- If there isn’t a “BIOS” folder, make one and put the file there.
Set Up the Emulator
- For ePSXe: Go to Config > BIOS and pick the SCPH1001.bin file.
- For DuckStation: Go to Settings > BIOS options and choose the SCPH1001.bin file.
Once you have installed the correct Bios on your emulator, you will be able to play ROMs without any issues.
ePSXe or DuckStation?
While DuckStation is free, ePSXe for Android is an excellent emulator. It is more user-friendly than DuckStation. On the other hand, DuckStation is free and offers superior accuracy and performance. However, it is less intuitive for beginners and isn’t compatible with Chromebooks. Yet, ePSXe costs $4 US. It also takes some setup.
Conclusion
In this article, we looked at the importance of BIOS in operating emulators. PlayStation emulators like ePSXe and DuckStation rely on BIOS files to work correctly. Following the instructions in this article, you may effortlessly configure your emulator and begin playing your favorite PS1 games.
Emulators frequently provide more features than the actual consoles. This way, players can play console games by downloading the emulator and the right PlayStation BIOS and adding their favorite games.